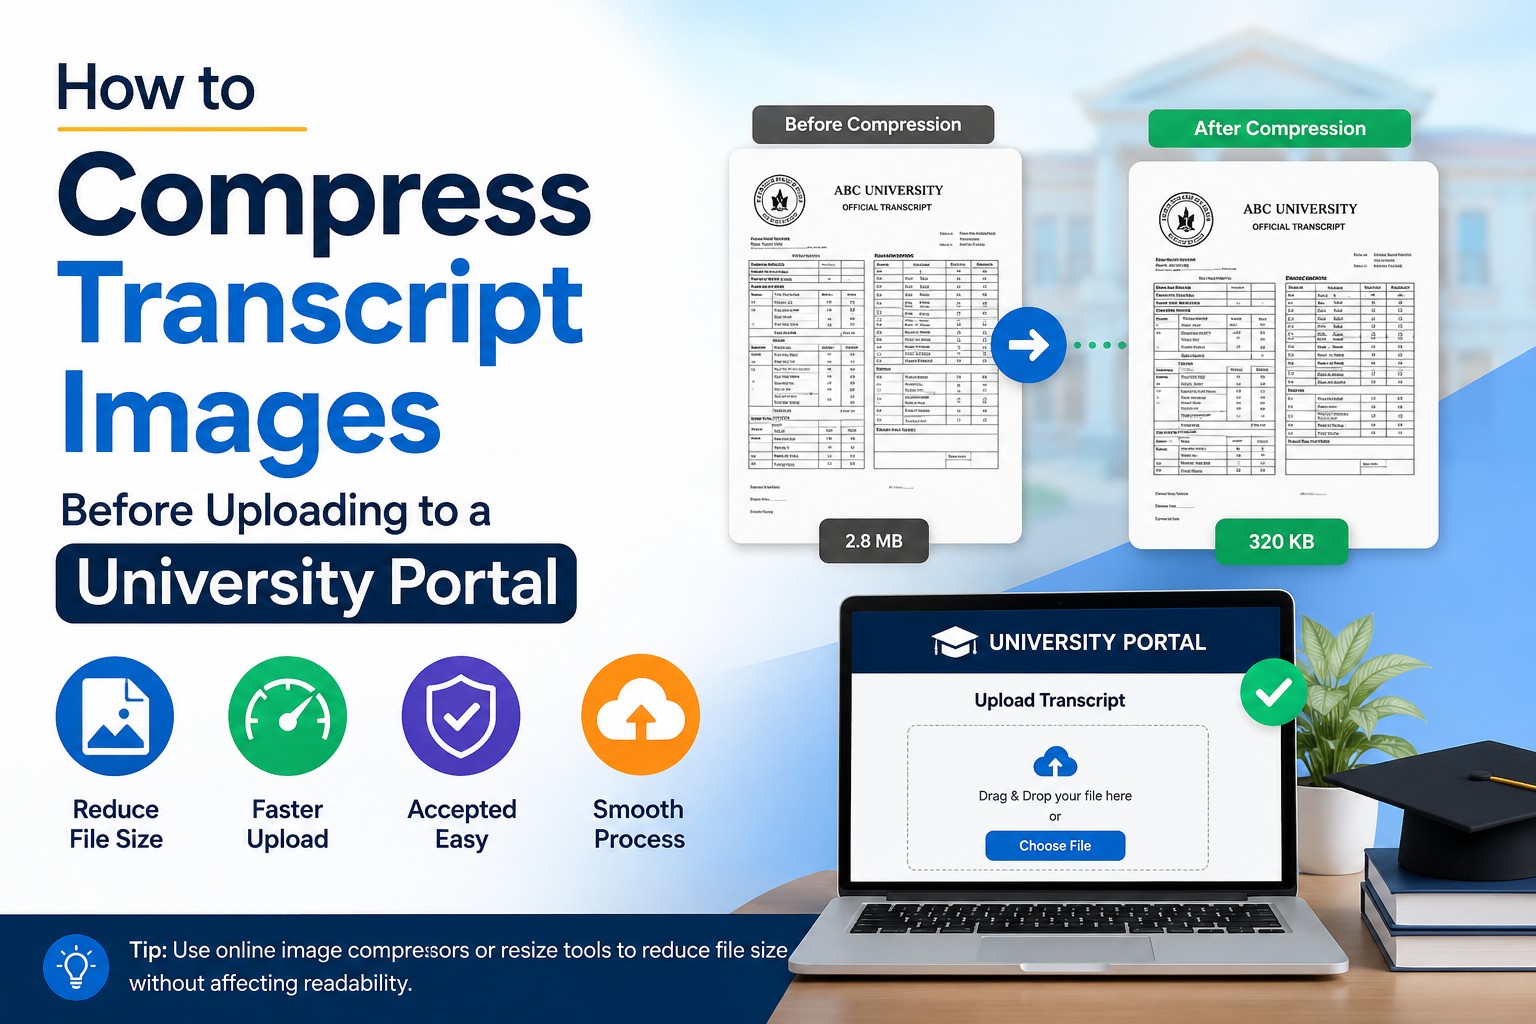
How to Compress Transcript Images Before Uploading to a University Portal
Most admission portals reject a transcript scan the moment it crosses the file size cap. The limits vary: some graduate schools cap each PDF at 4MB, others at 25MB, and a few admission systems squeeze every document under 200KB per file. A phone photo of a transcript page usually weighs 1.3MB to 1.6MB before any editing, so three pages can blow past a strict cap on the first attempt. This guide shows how to shrink those files, what resolution keeps the text readable, why portals want PDF over raw images, and how to convert PNG screenshots into lighter JPG files before you compress. Every step below maps to a requirement that real university portals enforce, from McGill to UC Davis to the University of Houston.
Why portals reject transcript uploads
Portals reject uploads for three reasons, and file size is the most common. A scanner set to 600 DPI colour produces a page that runs several megabytes, and the upload box throws an error before the file ever reaches the admissions office. The second reason is format. The University of Houston accepts PDF only, and its instructions state that JPG, BMP, and TIFF scans must be converted to PDF first. The third reason is legibility. UC Davis warns that an upload must be large enough to read, never blurry or pixelated, which means over-compression is its own failure mode.
So you are balancing two opposing forces. Compress too little and the portal blocks the file. Compress too hard and the reviewer cannot read your grades. The sweet spot sits between those walls, and resolution is the dial that controls it.
Pick the right scan resolution first
Resolution decides your starting file size, so set it before you compress anything. 300 DPI is the practical floor for a text transcript: sharp enough to read every course code, small enough to stay manageable. Going to 600 DPI doubles the detail your eye does not need and roughly quadruples the file weight.
Colour mode matters as much as DPI. A plain text transcript with no photo or seal scans cleanly in grayscale, and grayscale files run far lighter than colour. The Cambridge admissions office suggests colour only when the document carries information that grayscale would lose, such as a coloured stamp or signature. For a standard marksheet, grayscale at 300 DPI gives you a readable page that often lands close to the cap without further editing.
If you photograph the page with a phone instead of a flatbed scanner, the camera shoots in full colour at high resolution by default. That is why phone scans start heavy. A scanner app that exports grayscale will save you a compression step later. Either way, resolution sets the size you start from, and the format you save in decides how small you can go.
Convert PNG screenshots to JPG before compressing
PNG screenshots are the silent reason many transcript files stay large. When you screenshot a transcript from a student portal, your device usually saves it as PNG. PNG keeps every pixel without throwing data away, which is excellent for screenshots of crisp text but terrible for file size: a single PNG transcript page can run 800KB to 1.2MB on its own.
JPG handles the same page differently. It uses lossy compression, which discards data the eye barely registers, and that cuts the file to a fraction of the PNG weight. For a transcript heading into a PDF, the conversion to JPG is the single biggest size win you can make before any other compression.
You can Convert PNG to JPG in seconds with a free browser tool that turns the file into a lighter JPG without installing software or creating an account. Drop the PNG in, download the JPG, and you have already shed most of the excess weight. Then you compress the JPG or drop it into a PDF, and the file clears the cap with room to spare.
One caveat worth knowing: PNG files with sharp black text on a white background can show faint artifacts after JPG conversion, because JPG smooths hard edges. For a transcript the effect is rarely visible at normal zoom, but preview the result before you upload. If the grades look fuzzy, raise the JPG quality a notch and convert again.
Compress the file to fit the portal cap
Compression is where you hit the exact number the portal demands. Three approaches cover almost every case.
- Lower the JPG quality. Most image editors and online compressors let you set a quality percentage. Start at 80% and check legibility. A transcript usually stays readable down to 60%, and each drop shaves kilobytes.
- Convert images into one PDF. Portals like Houston and UL Lafayette want a single PDF per institution, so combining pages into one file is mandatory anyway. A JPG-to-PDF tool that targets a size limit, such as the 200KB option some converters offer, does the compression and the format change in one pass.
- Reduce the dimensions. If quality cuts alone are not enough, scale the image down. A transcript scanned at 3000 pixels wide stays perfectly readable at 1800 pixels, and the smaller canvas means a smaller file.
For a strict 200KB cap, stick to one to three pages per PDF. Cramming ten phone photos into a single 200KB file leaves each page about 20KB of data, which is too little for clean text. Split heavy documents across the number of upload slots the portal gives you, or raise the size target if the form allows 500KB or 1MB.
The order you apply these steps changes the result. Convert PNG to JPG first, because that single move often clears half the excess before you touch a quality slider. Drop the resolution next if the file is still heavy. Save the quality cut for last, since it is the step that risks the grades. Work in that sequence and you rarely have to push quality low enough to blur the text. Push them out of order and you end up over-compressing a file that a format swap would have fixed on its own.
After compression, open the file and read it at 100% zoom. The number on the file is only half the job. The grades have to survive.
Save and name the file the way the portal expects
Naming rules trip up more applicants than they should. Trent University's transcript portal accepts only letters, numbers, underscores, and spaces in a file name, and a stray hyphen or bracket can cause a silent rejection. Keep names plain: transcript_bsc_2024.pdf works everywhere.
PDF is the format almost every portal standardises on. McGill accepts a long list of types including JPG and PNG, but most graduate systems, Houston included, take PDF only. Saving as PDF also locks your page order, which matters because a multi-page transcript must arrive as one file with pages in sequence. UL Lafayette rejects transcript pages submitted as separate files, so combine first, then upload.
If your transcript is a fillable or encrypted PDF from a university system, flatten it before uploading. McGill's instructions say to print the form to a new PDF, which strips the interactive layer that sometimes blocks an upload. UC Davis gives the same fix for security-encrypted electronic transcripts: print the PDF and rescan it so no encryption survives.
Redact sensitive data before it goes online
Redaction protects you, and some portals require it. UC Davis tells applicants to check every page and remove any part of a Social Security Number before uploading, using ink, white-out, or correction tape on the paper copy. Do the redaction on the physical page or with a proper PDF redaction tool, not with a coloured box drawn in a viewer, because a drawn box can sometimes be moved aside to reveal the text beneath.
Beyond the SSN, do not alter anything else. Houston's graduate school warns that omitting or marking information on a transcript, beyond redacting the SSN, can be grounds for cancelling an application. Compress the file, redact the one number you must, and leave every grade and course code exactly as issued.
Check legibility one last time
Legibility is the test every portal applies after you upload, so apply it yourself first. UC Davis and the University of Tennessee both tell applicants to preview the PDF for image quality and confirm the document is complete and readable before and after uploading. Tennessee's portal even offers a view document button to verify the uploaded file is legible.
Read your compressed file the way a reviewer will. Open it at 100%, confirm every course title and grade is sharp, and check that no page is upside down or sideways. A transcript that arrives readable on the first try saves you the delay of resubmitting, and in some cases saves you from being asked to mail an official paper copy instead.
Frequently asked questions
What file size do university portals accept for transcripts?
File size limits vary by institution, commonly from 200KB to 32MB per file. Strict admission portals cap documents at 200KB, many graduate schools allow 4MB, the University of Houston permits 25MB, and McGill's uploader accepts up to 32MB. Check the exact number on the upload page before you compress, because the cap drives how hard you need to shrink the file.
Should I upload my transcript as PDF or JPG?
Upload as PDF in almost every case. Most graduate portals, including the University of Houston, accept PDF only and require JPG, PNG, BMP, or TIFF scans to be converted to PDF first. PDF also preserves page order for multi-page transcripts, which image formats do not handle in a single file.
How do I convert a PNG transcript screenshot to JPG?
Use a free browser tool to Convert PNG to JPG: upload the PNG, download the JPG, no install needed. JPG uses lossy compression that cuts the file to a fraction of the PNG size, which is the fastest way to lighten a transcript screenshot before you build the PDF. Preview the JPG to confirm the text stays sharp.
What scan resolution keeps a transcript readable but small?
Scan at 300 DPI for the best balance. That resolution keeps every course code and grade sharp while keeping the file size manageable, and grayscale mode shrinks it further for text-only transcripts. 600 DPI adds detail the reviewer does not need and roughly quadruples the file weight.
Can I combine multiple transcript pages into one file?
Yes, and most portals require it. Submit one PDF per institution with all pages in the correct order, because systems like UL Lafayette reject transcript pages uploaded as separate files. A JPG-to-PDF tool merges the pages and compresses them in the same step.
Will compressing my transcript make it too blurry to accept?
It can if you over-compress, so preview before uploading. UC Davis rejects uploads that are blurry or pixelated, so keep JPG quality high enough that every grade reads clearly at 100% zoom. If a page looks soft, raise the quality setting and compress again rather than submitting a file the reviewer cannot read.
Do I need to remove my Social Security Number before uploading?
Yes, redact the SSN on every page before uploading. UC Davis instructs applicants to remove any part of the SSN using ink, white-out, or correction tape, but to leave all other information unaltered. Marking or omitting anything beyond the SSN can void an application at schools like the University of Houston.
Why does my encrypted transcript fail to upload?
Encrypted or fillable PDFs fail because the security layer blocks the portal from processing them. Print the encrypted PDF to a fresh file or rescan the printed copy, which strips the encryption, then upload the clean version. McGill and UC Davis both recommend this print-and-rescan fix for documents that stall during upload.
Compress smart, check the file reads clearly, and your transcript clears the portal on the first upload.